Templates and Managing Content
The portal enables you to create Manifest templates that pre-define metadata structures. Manifests created from a template inherit those metadata fields automatically. This section also covers moving and deleting IIIF content in the Publishing area.
Managing IIIF content using templates
Section titled “Managing IIIF content using templates”Creating a Templates folder
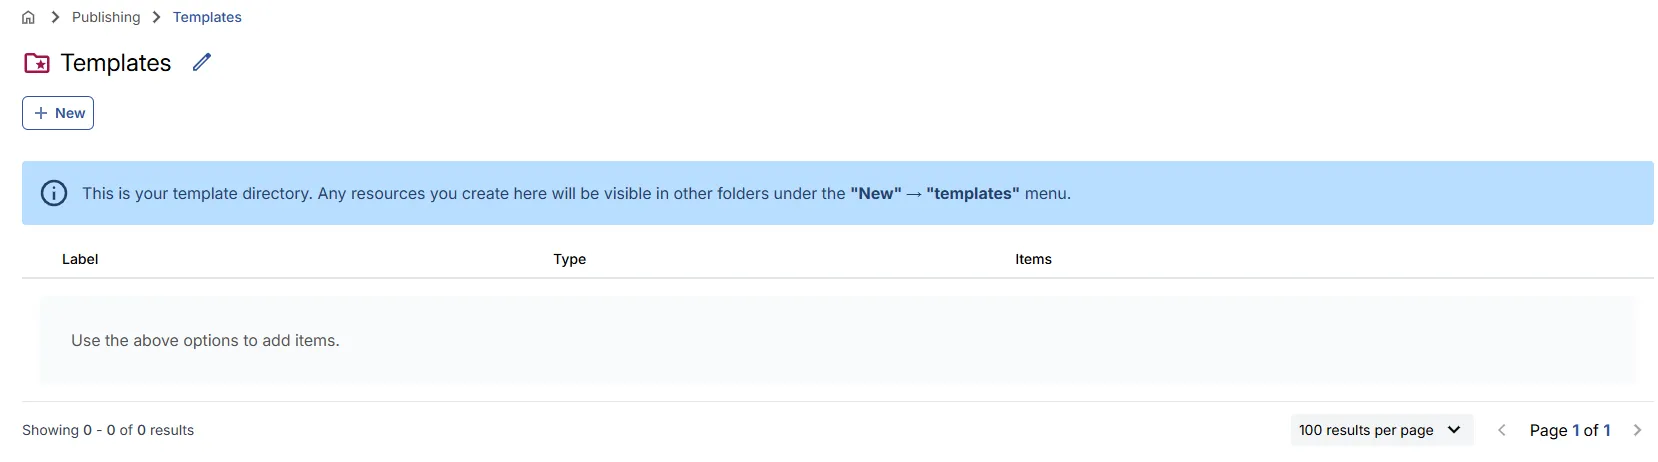
Section titled “Creating a Templates folder”Templates are stored in a dedicated folder named Templates. Once created with this exact name, the portal recognises it as a templates folder.
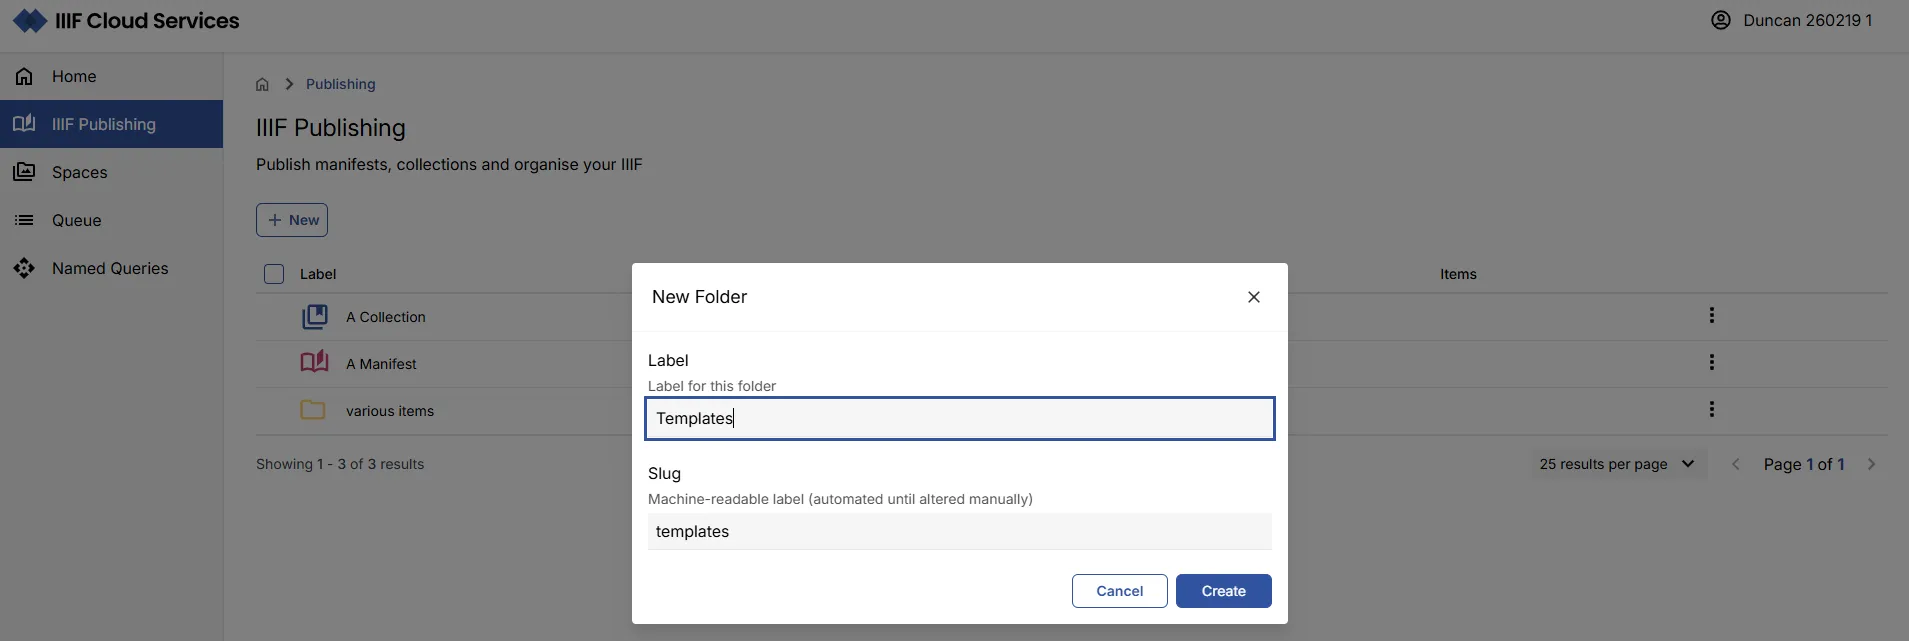
- Use the left-hand navigation to go to the IIIF Publishing area.
- Click New, then Folder. Enter
Templatesas the folder name and click Create.
This redirects you to your new Templates folder, which has a distinct icon to distinguish it from regular folders.
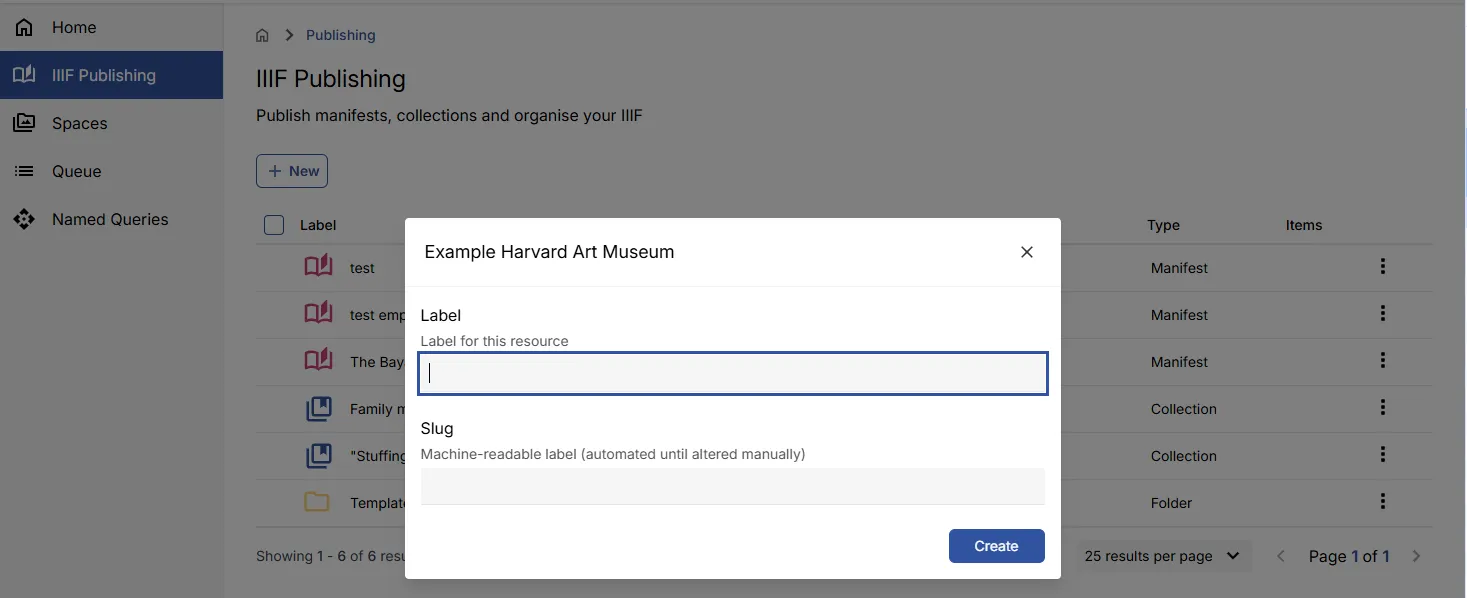
Creating a manifest template
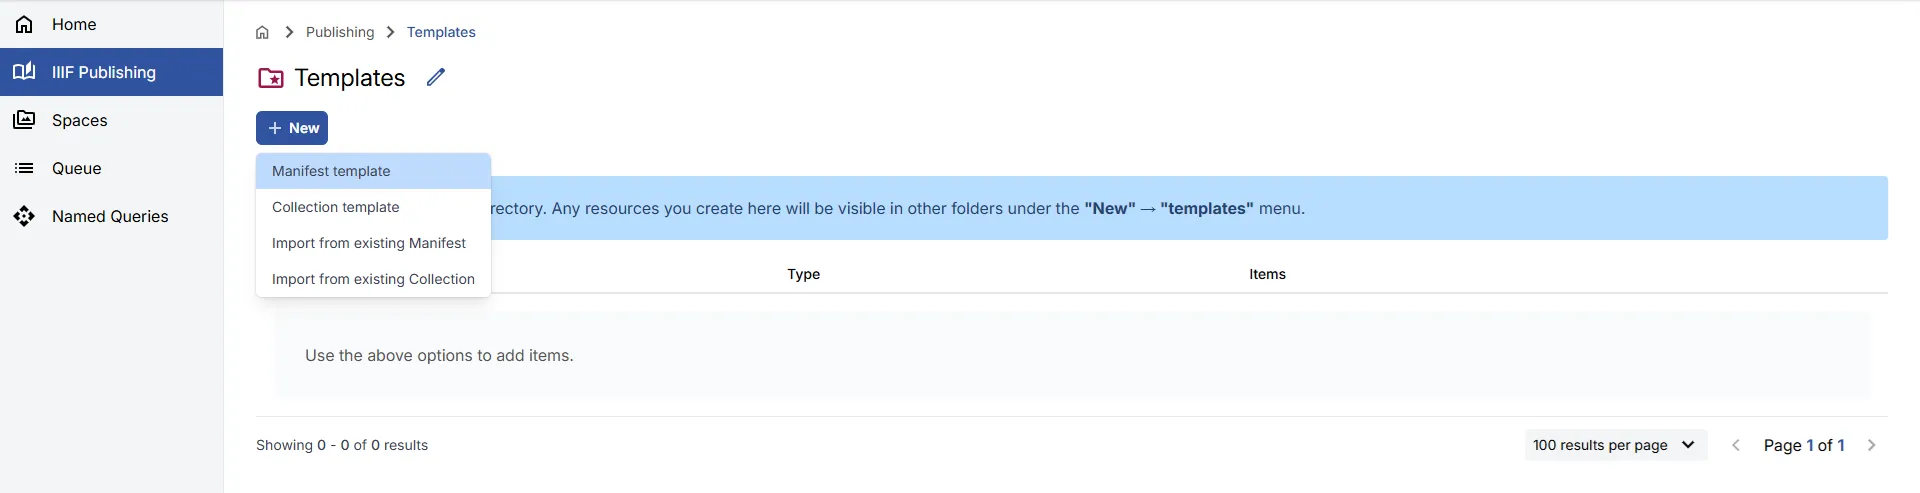
Section titled “Creating a manifest template”Manifest Templates are created within the Templates folder and support the pre-definition of metadata for future IIIF Manifests.
- Navigate to the Templates folder.
- Click New and select Manifest template.
- Provide a Label and optional Summary for the template.
- The Slug will be auto-generated but can be changed.
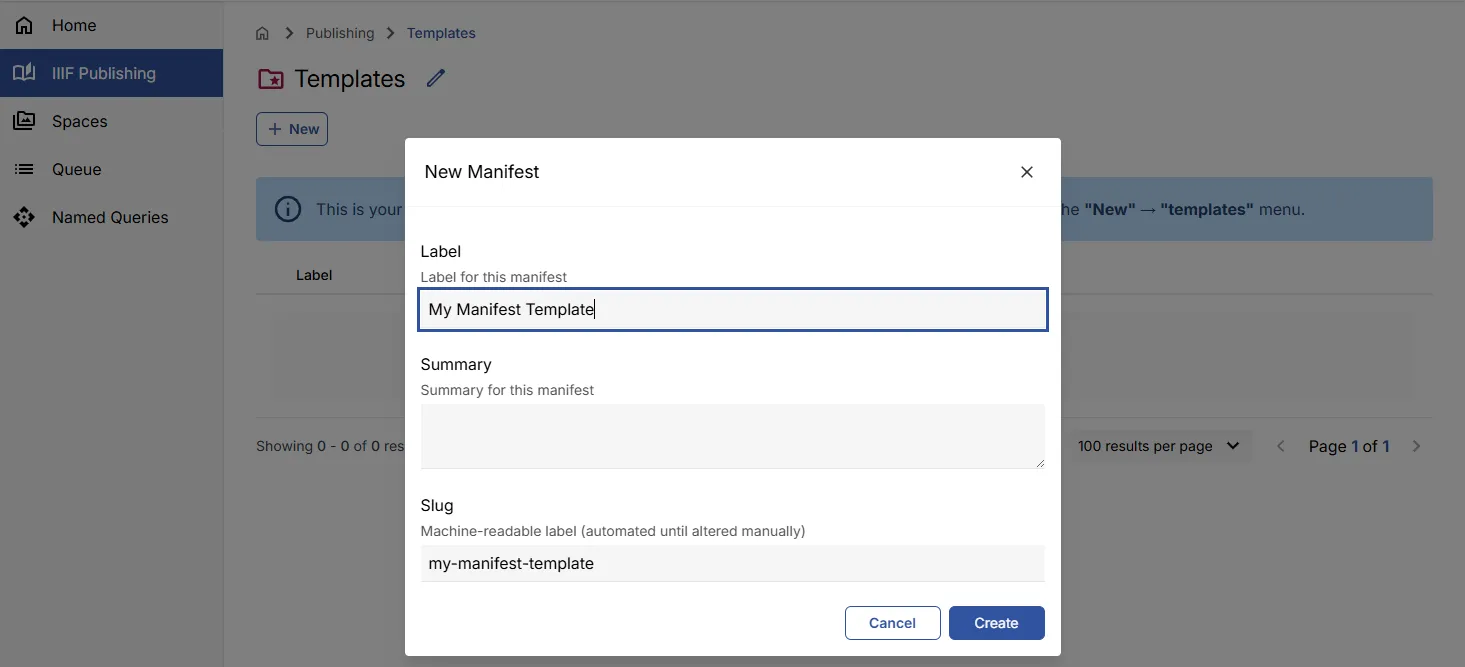
- Click Create. You will be redirected to the new Manifest Template view.
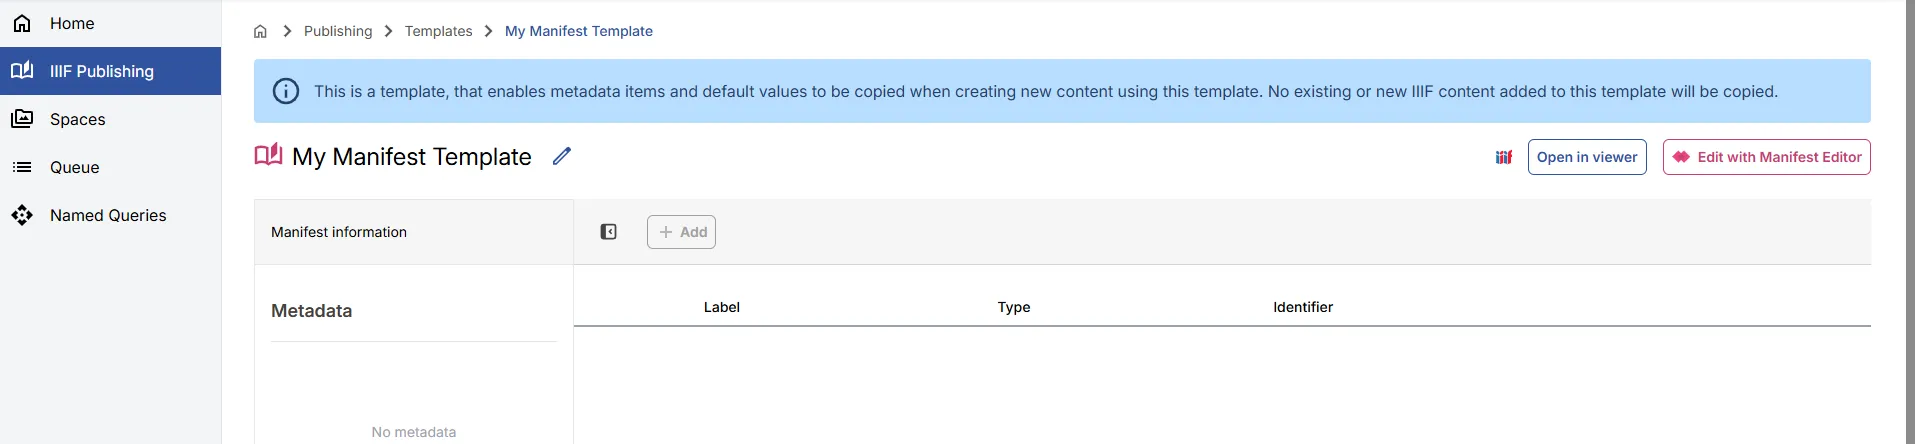
Editing a manifest template
Section titled “Editing a manifest template”To edit the template, open it in the Manifest Editor:
- Click Edit with Manifest Editor from the Manifest Template view.
- In the right panel, click the Metadata tab.
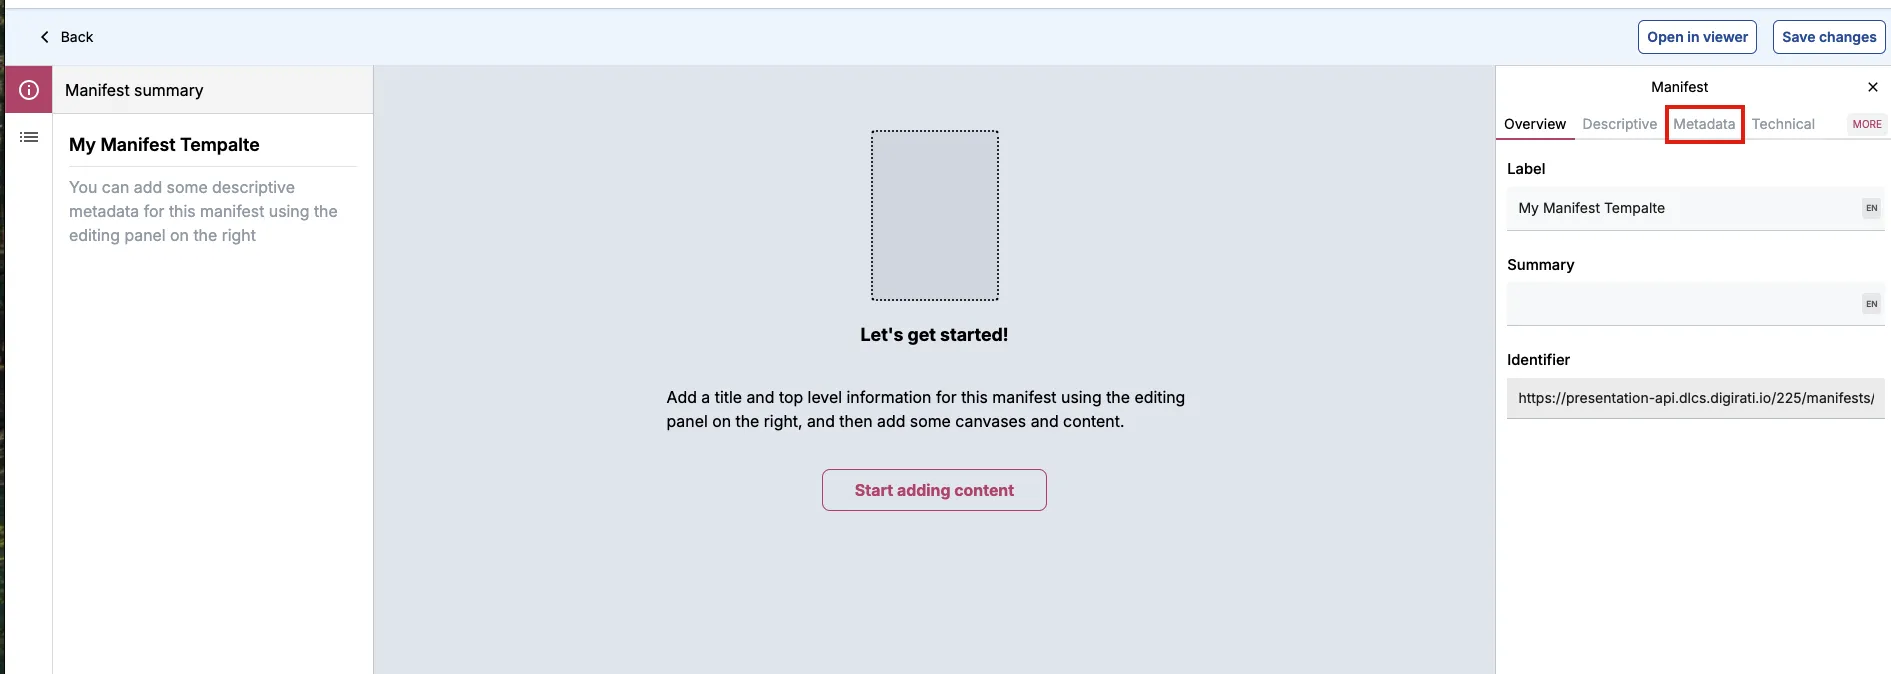
- Click Add metadata item and fill in the label and value fields.
- Click Save Changes.
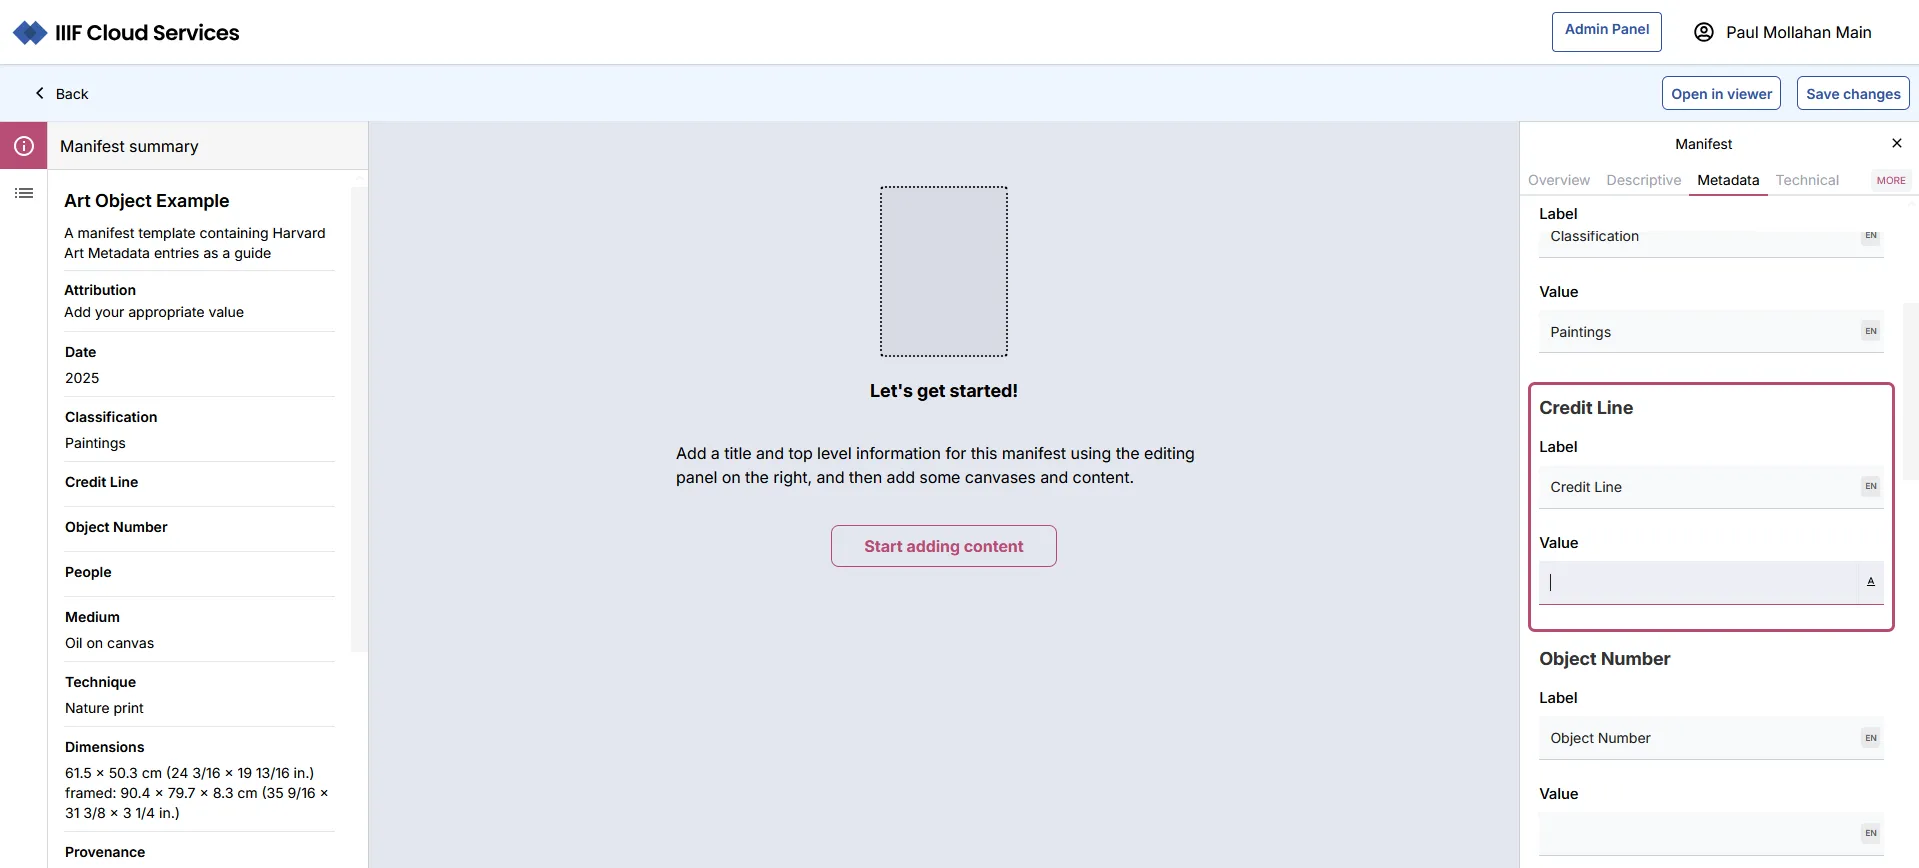
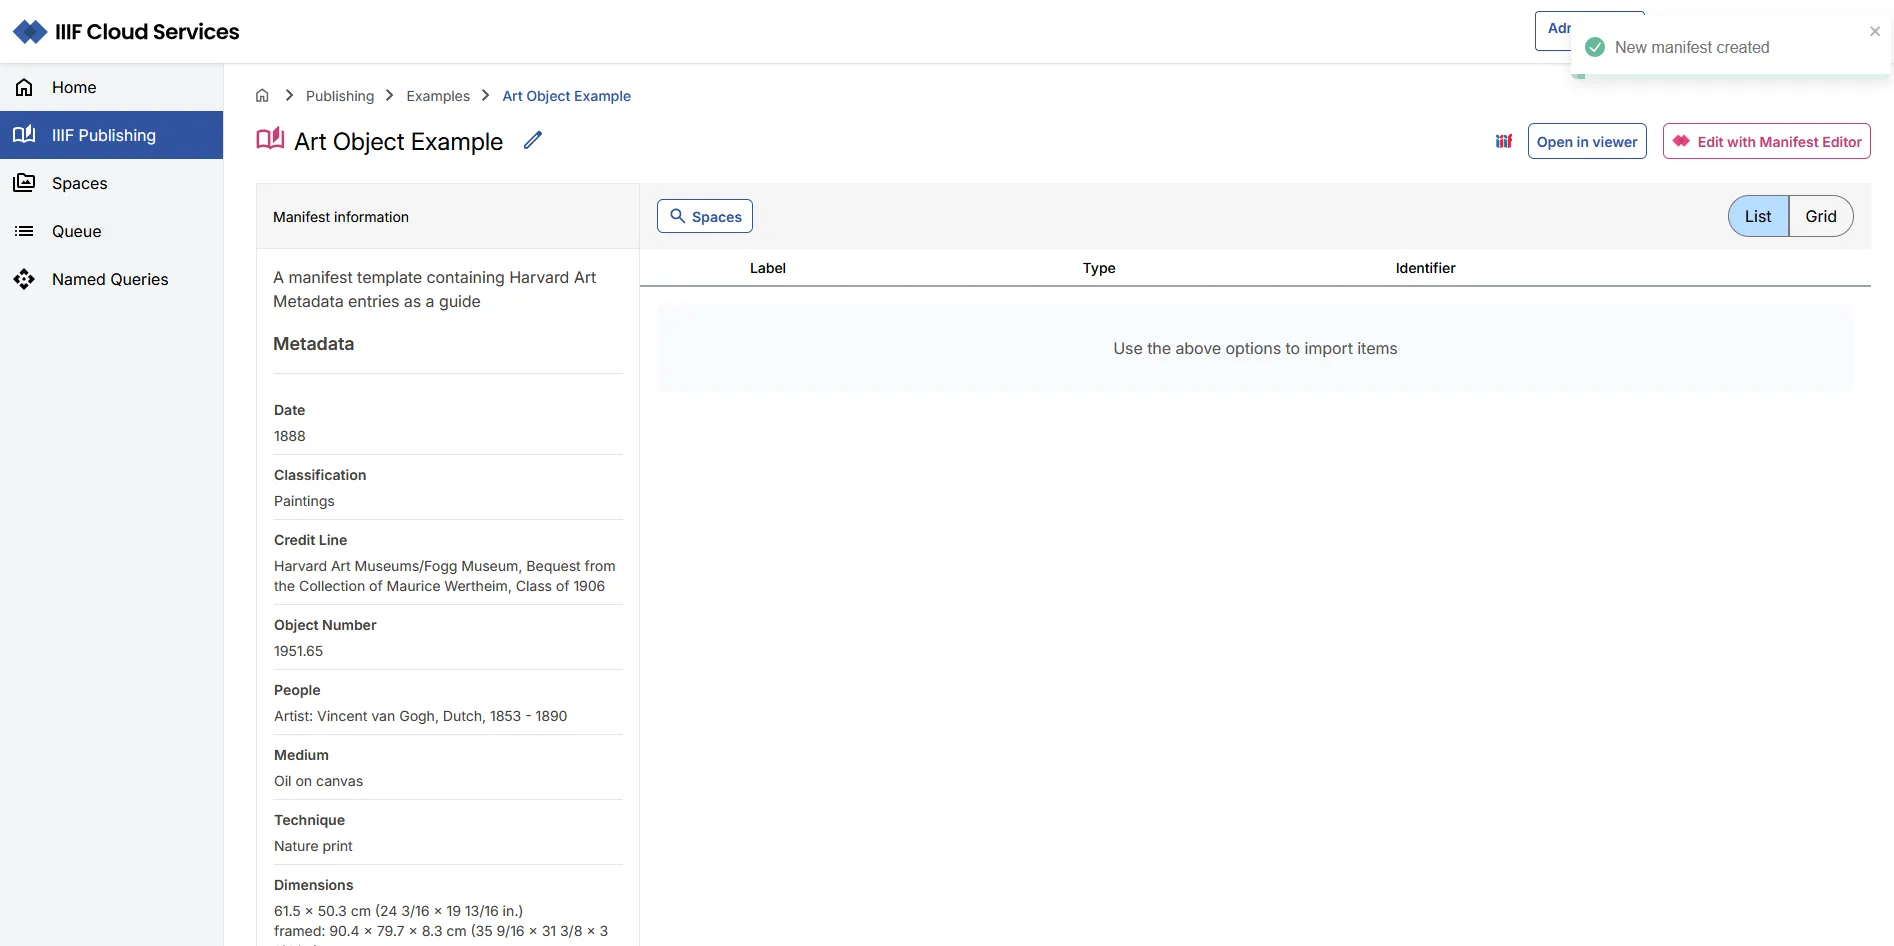
You can add as many metadata fields as needed. These values will appear pre-populated when you create a new Manifest from this template. They can be edited at that point if required.
Creating a manifest from a template
Section titled “Creating a manifest from a template”- From the IIIF Publishing area, navigate to the location where you want to create the new Manifest.
- Click New and scroll to the bottom of the list to find your templates.
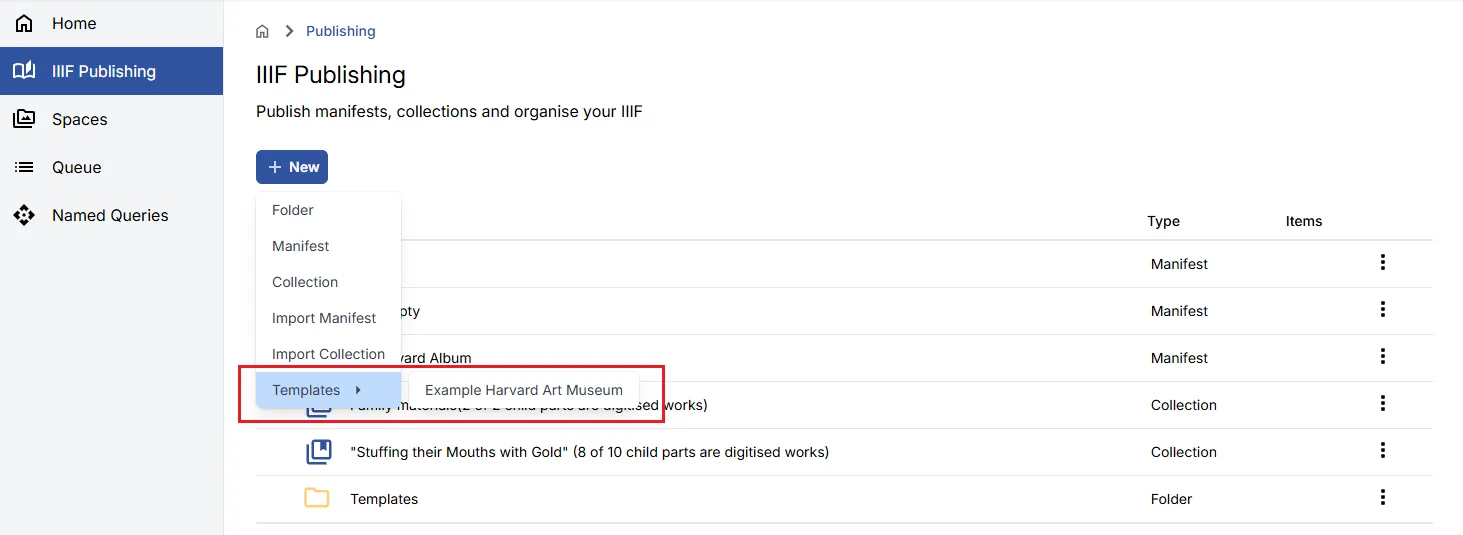
- Fill in the Label (a slug will be generated automatically).
- Click Create.
Moving IIIF content
Section titled “Moving IIIF content”You can reorganise your IIIF content using the Move functionality. Hover over an item in the IIIF Publishing listing to reveal its checkbox. Select one or more items.
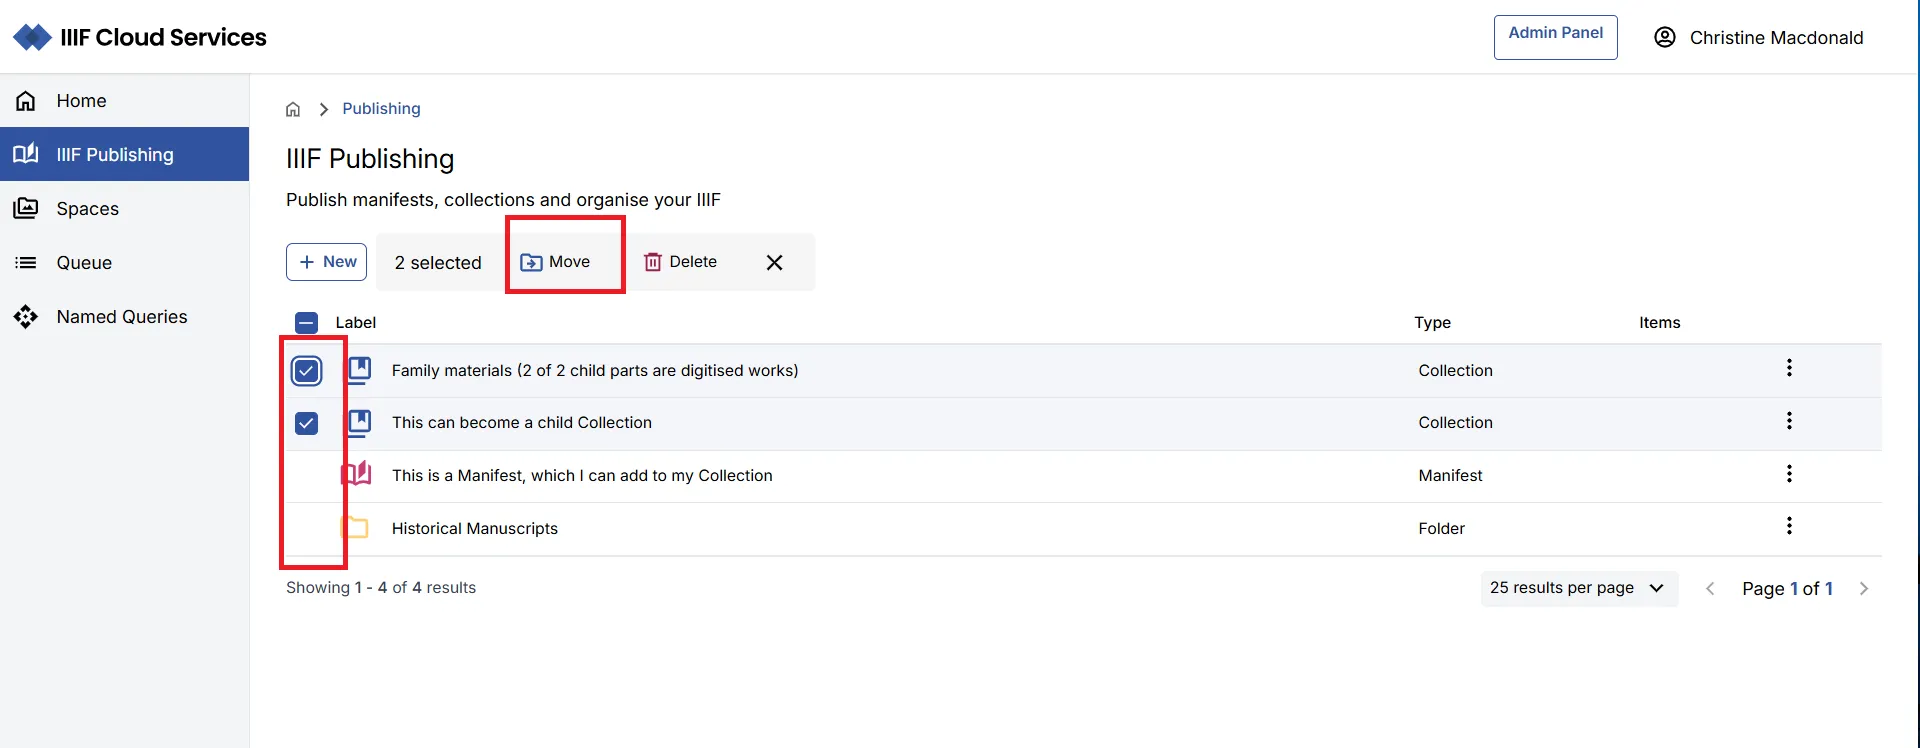
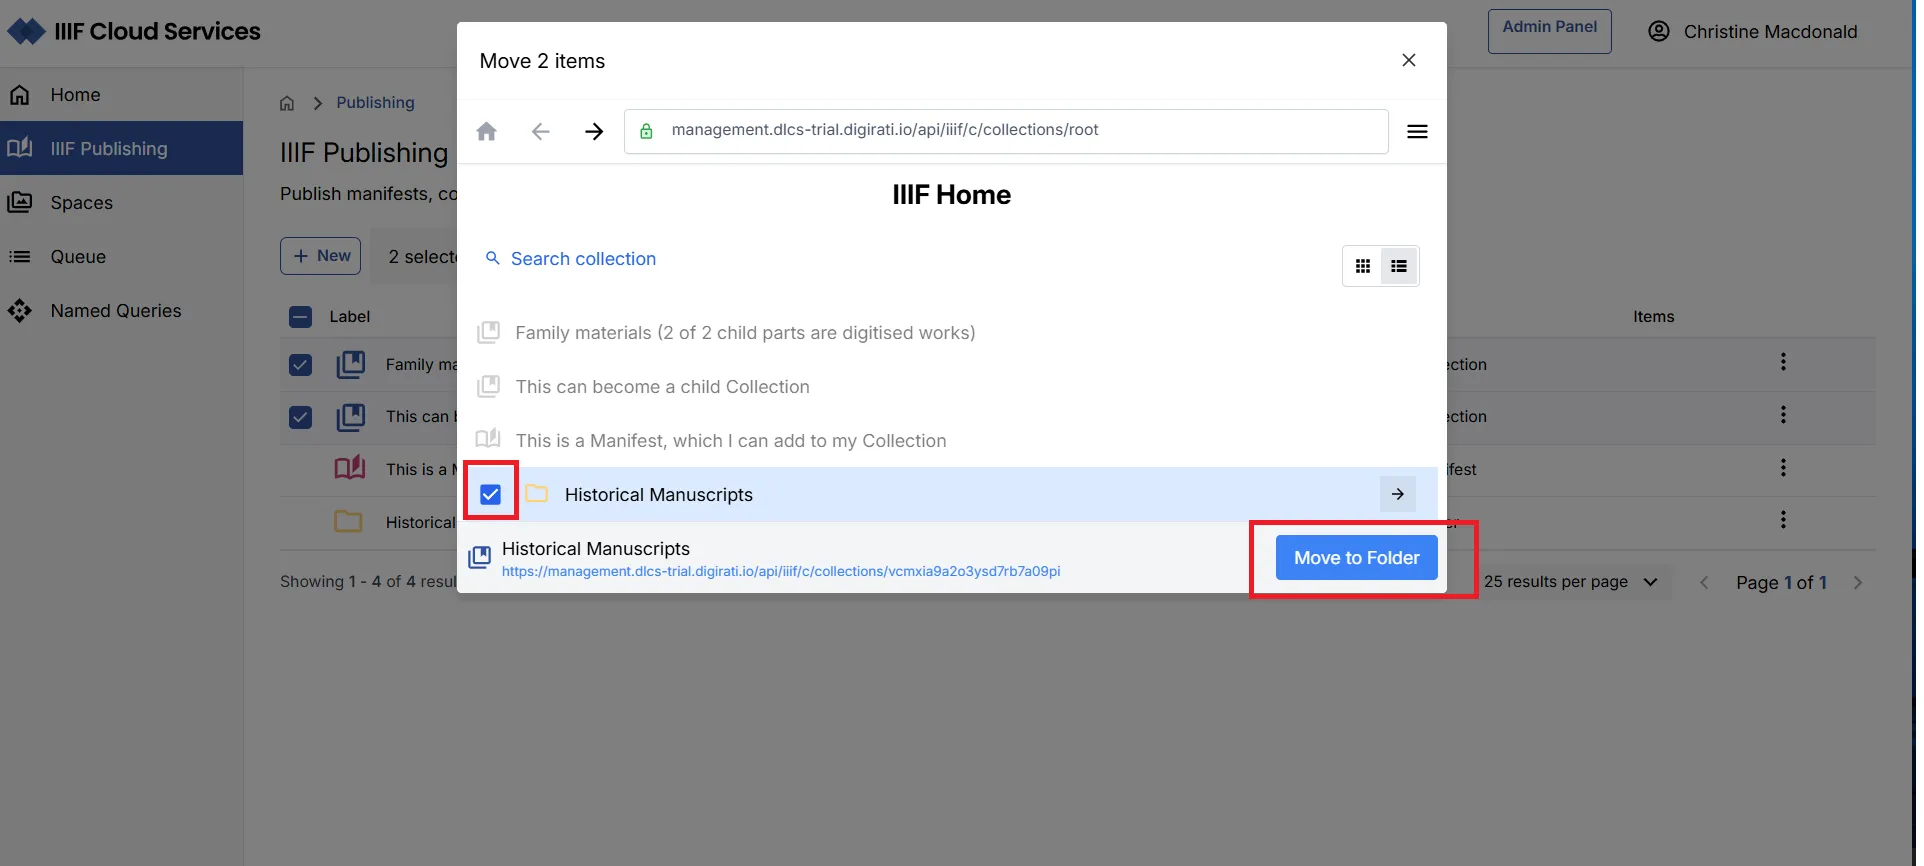
Click Move. The IIIF Browser opens, allowing you to select a destination folder. You can either check the checkbox next to the folder or navigate into it, then click Move here.
You can also drag an item directly into a visible folder in the listing.
Deleting IIIF content
Section titled “Deleting IIIF content”Deleting an individual item
Section titled “Deleting an individual item”Navigate into the Folder, Manifest, or Collection, click the pencil icon, and select Delete. Confirm the deletion in the modal.

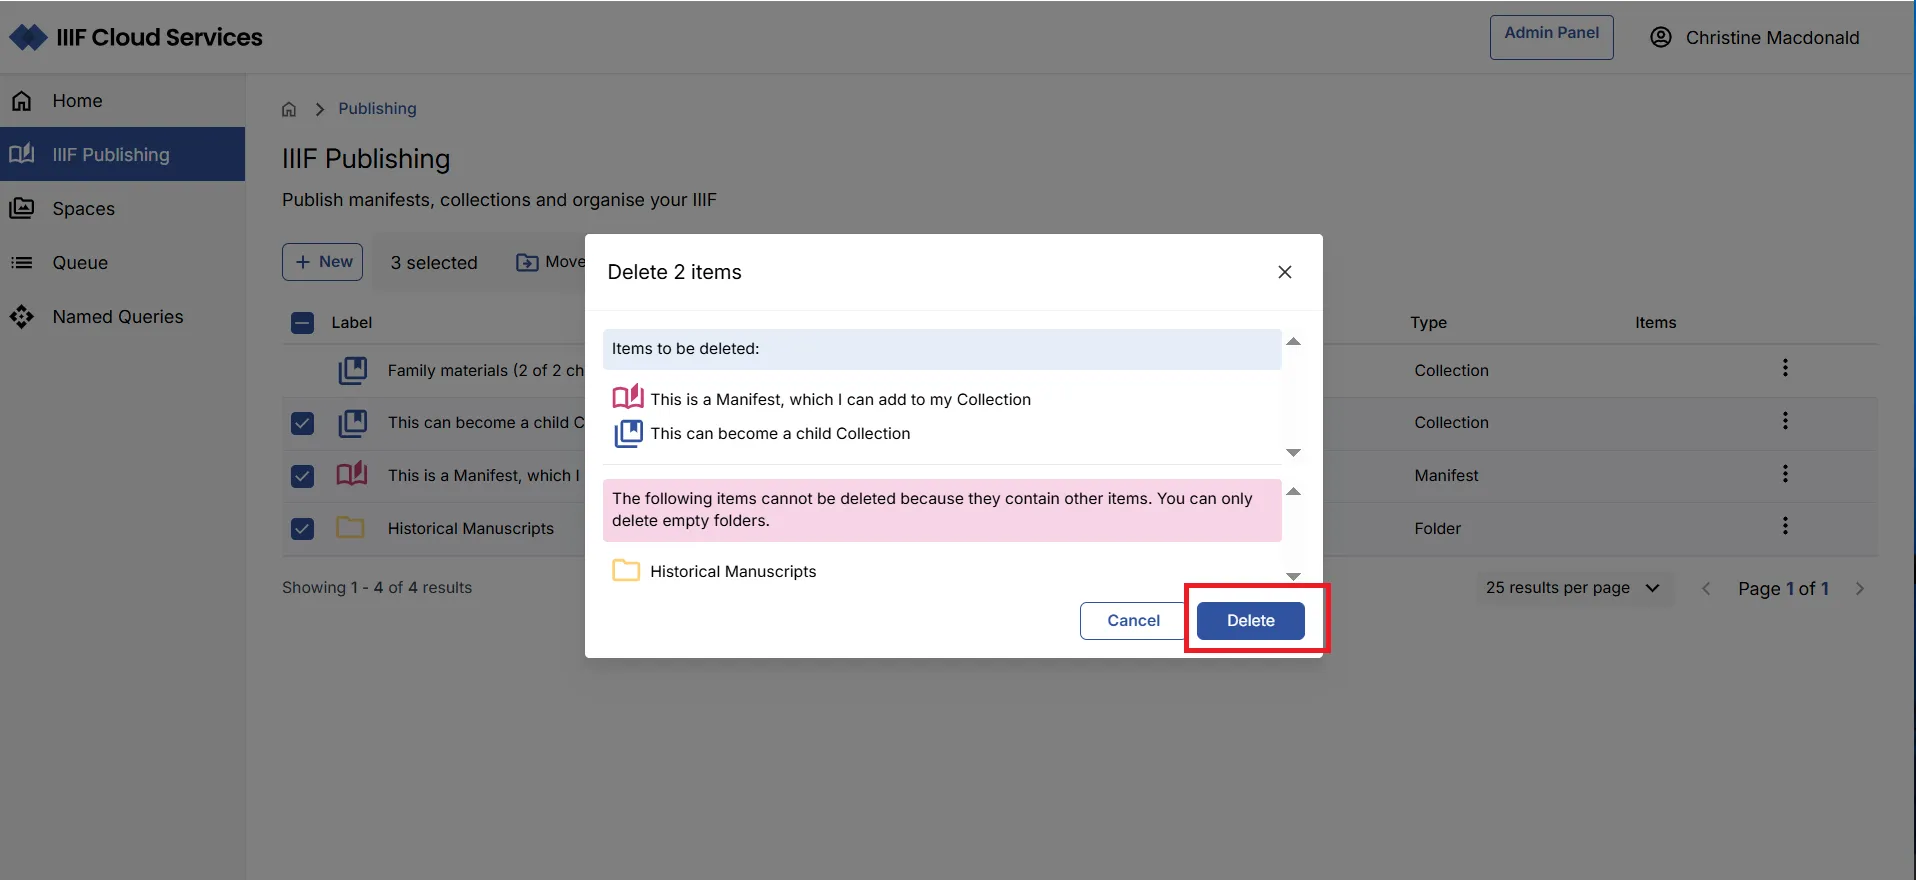
Bulk deleting content
Section titled “Bulk deleting content”Use checkboxes to select multiple items, then click Delete when it appears. Confirm the deletion in the modal. Items that cannot be deleted (e.g. non-empty folders) will be listed separately.
Using the API to create and update IIIF content
Section titled “Using the API to create and update IIIF content”Manifests may be ingested into the IIIF Cloud Service via automated processes using available APIs — for example, from a process that combines data from a collection management system with assets already registered in the platform. These scenarios can be discussed with your Digirati contact.